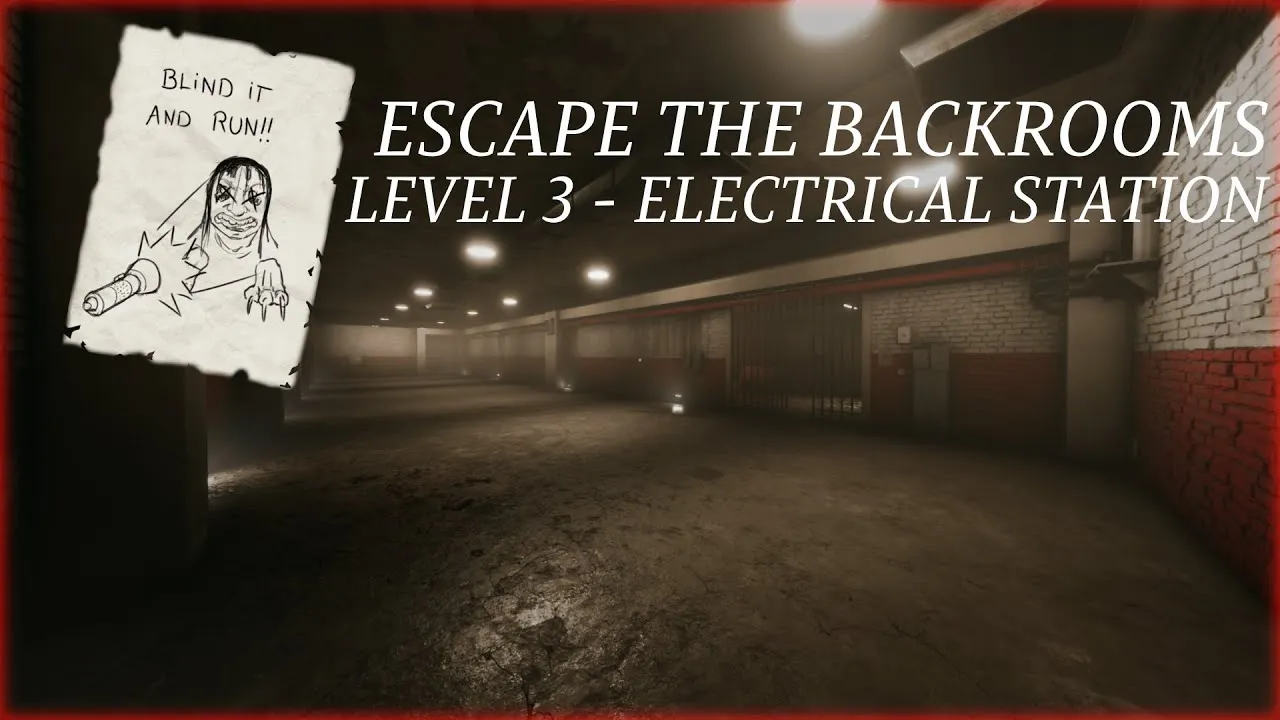
If you’re new to the series, make sure you’ve mastered the basics from the Escape the Backrooms Beginner’s Survival Guide before tackling Level 3.
Part I: Core Survival Mechanics and Preparation
1. The Environment and Sanity Threat
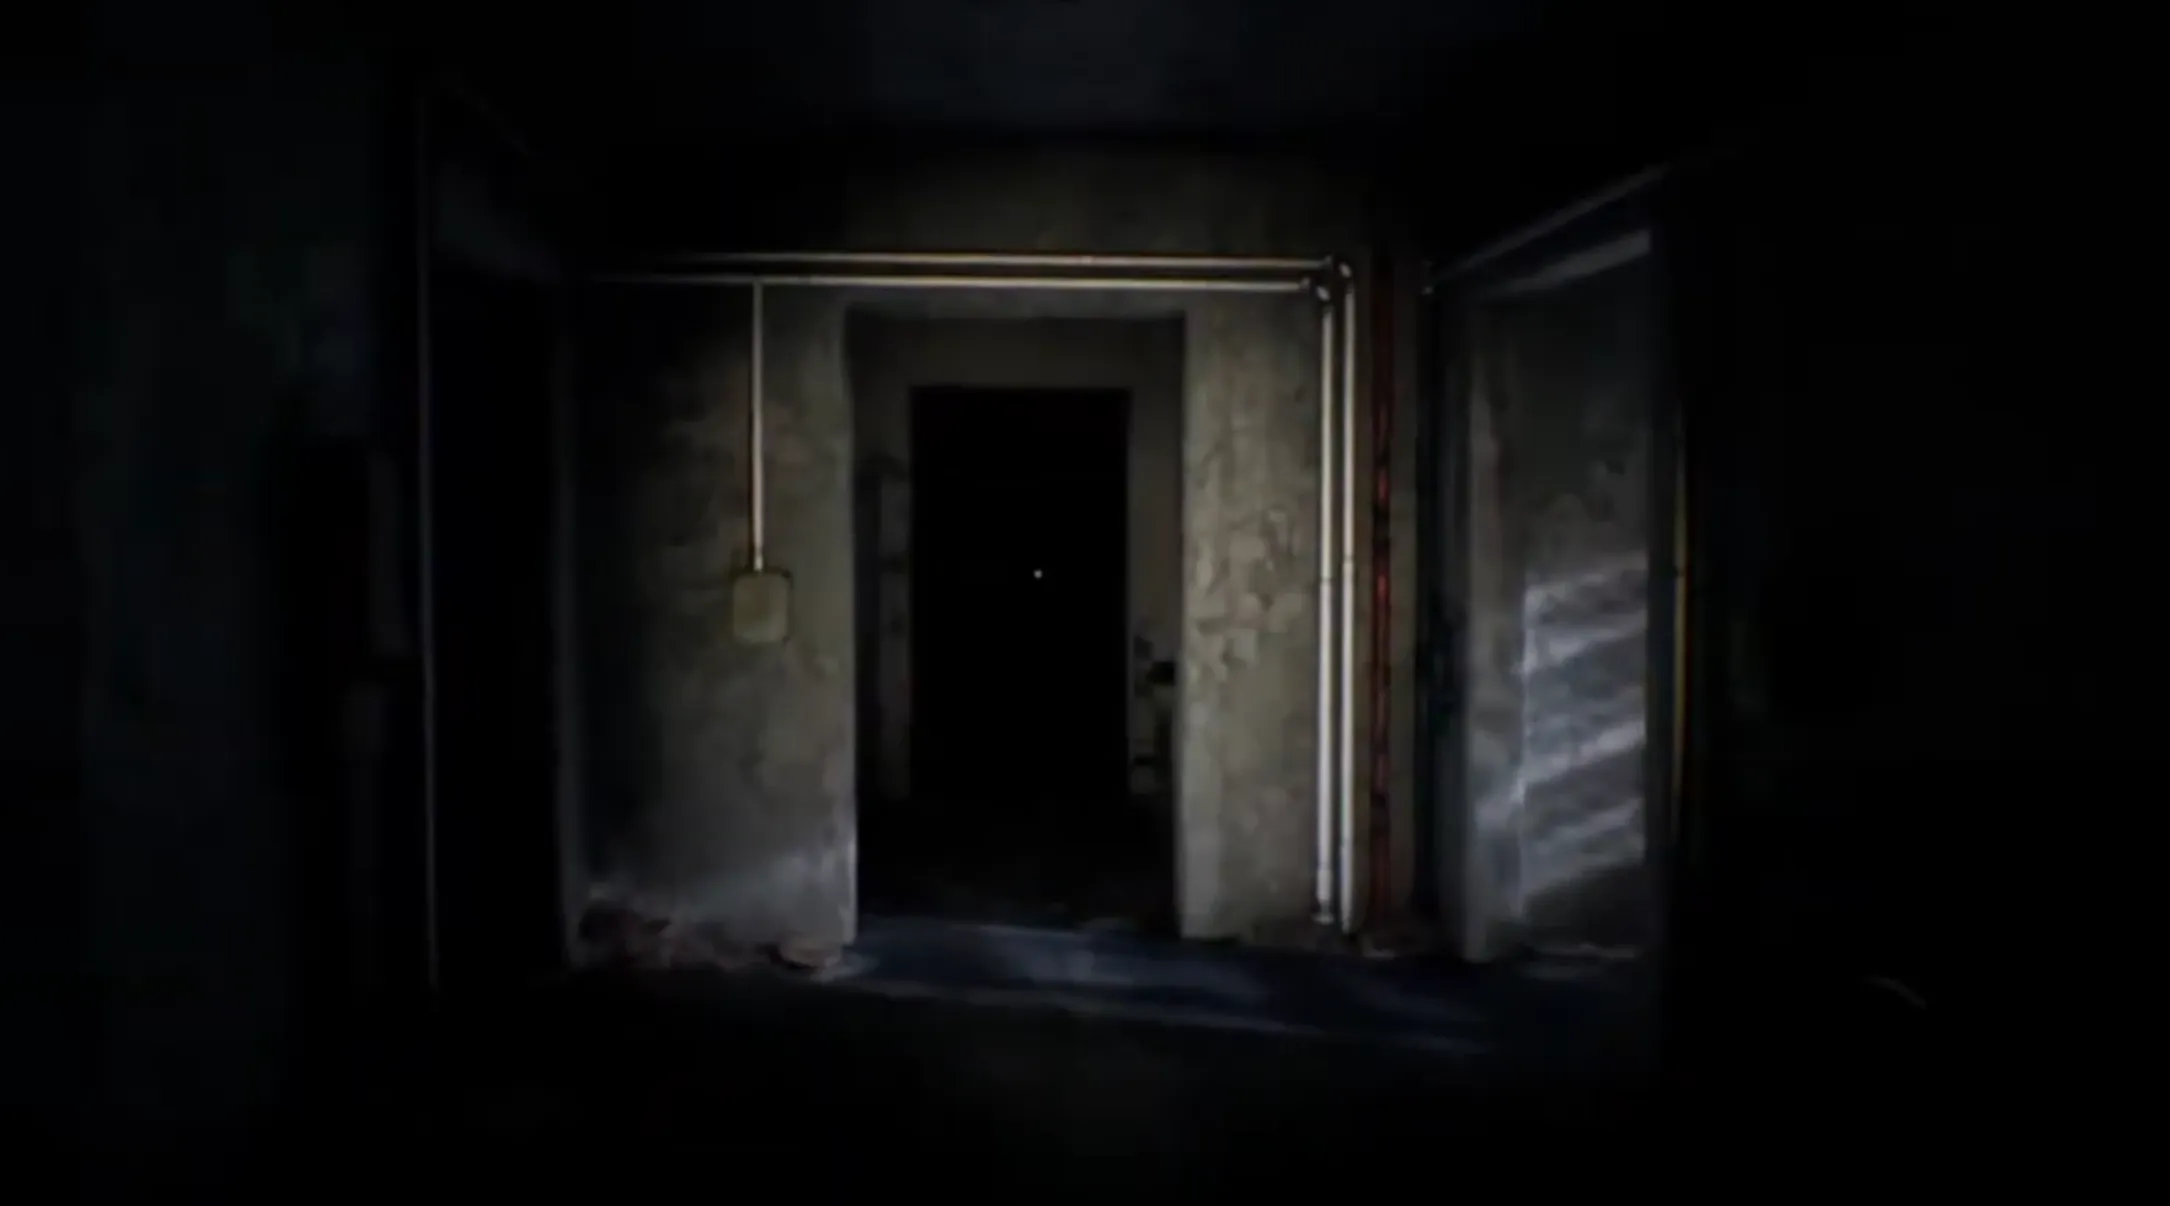
Extreme Darkness: This is the darkest environment yet — your flashlight is your lifeline. Extended exposure to darkness rapidly drains Sanity, leading to hallucinations and entity encounters. Noise and Distortion: The constant electric hum masks footsteps, making it harder to detect entities. Always stay alert to subtle static or sizzling sounds that indicate danger.
2. Essential Supplies and Team Roles
- Batteries: Stock up. Flashlight failure is lethal here.
- Almond Water: Useful for slight sanity recovery during long explorations.
- Fuse Carriers: Designate one player to handle fuses, while others focus on scouting and defense.
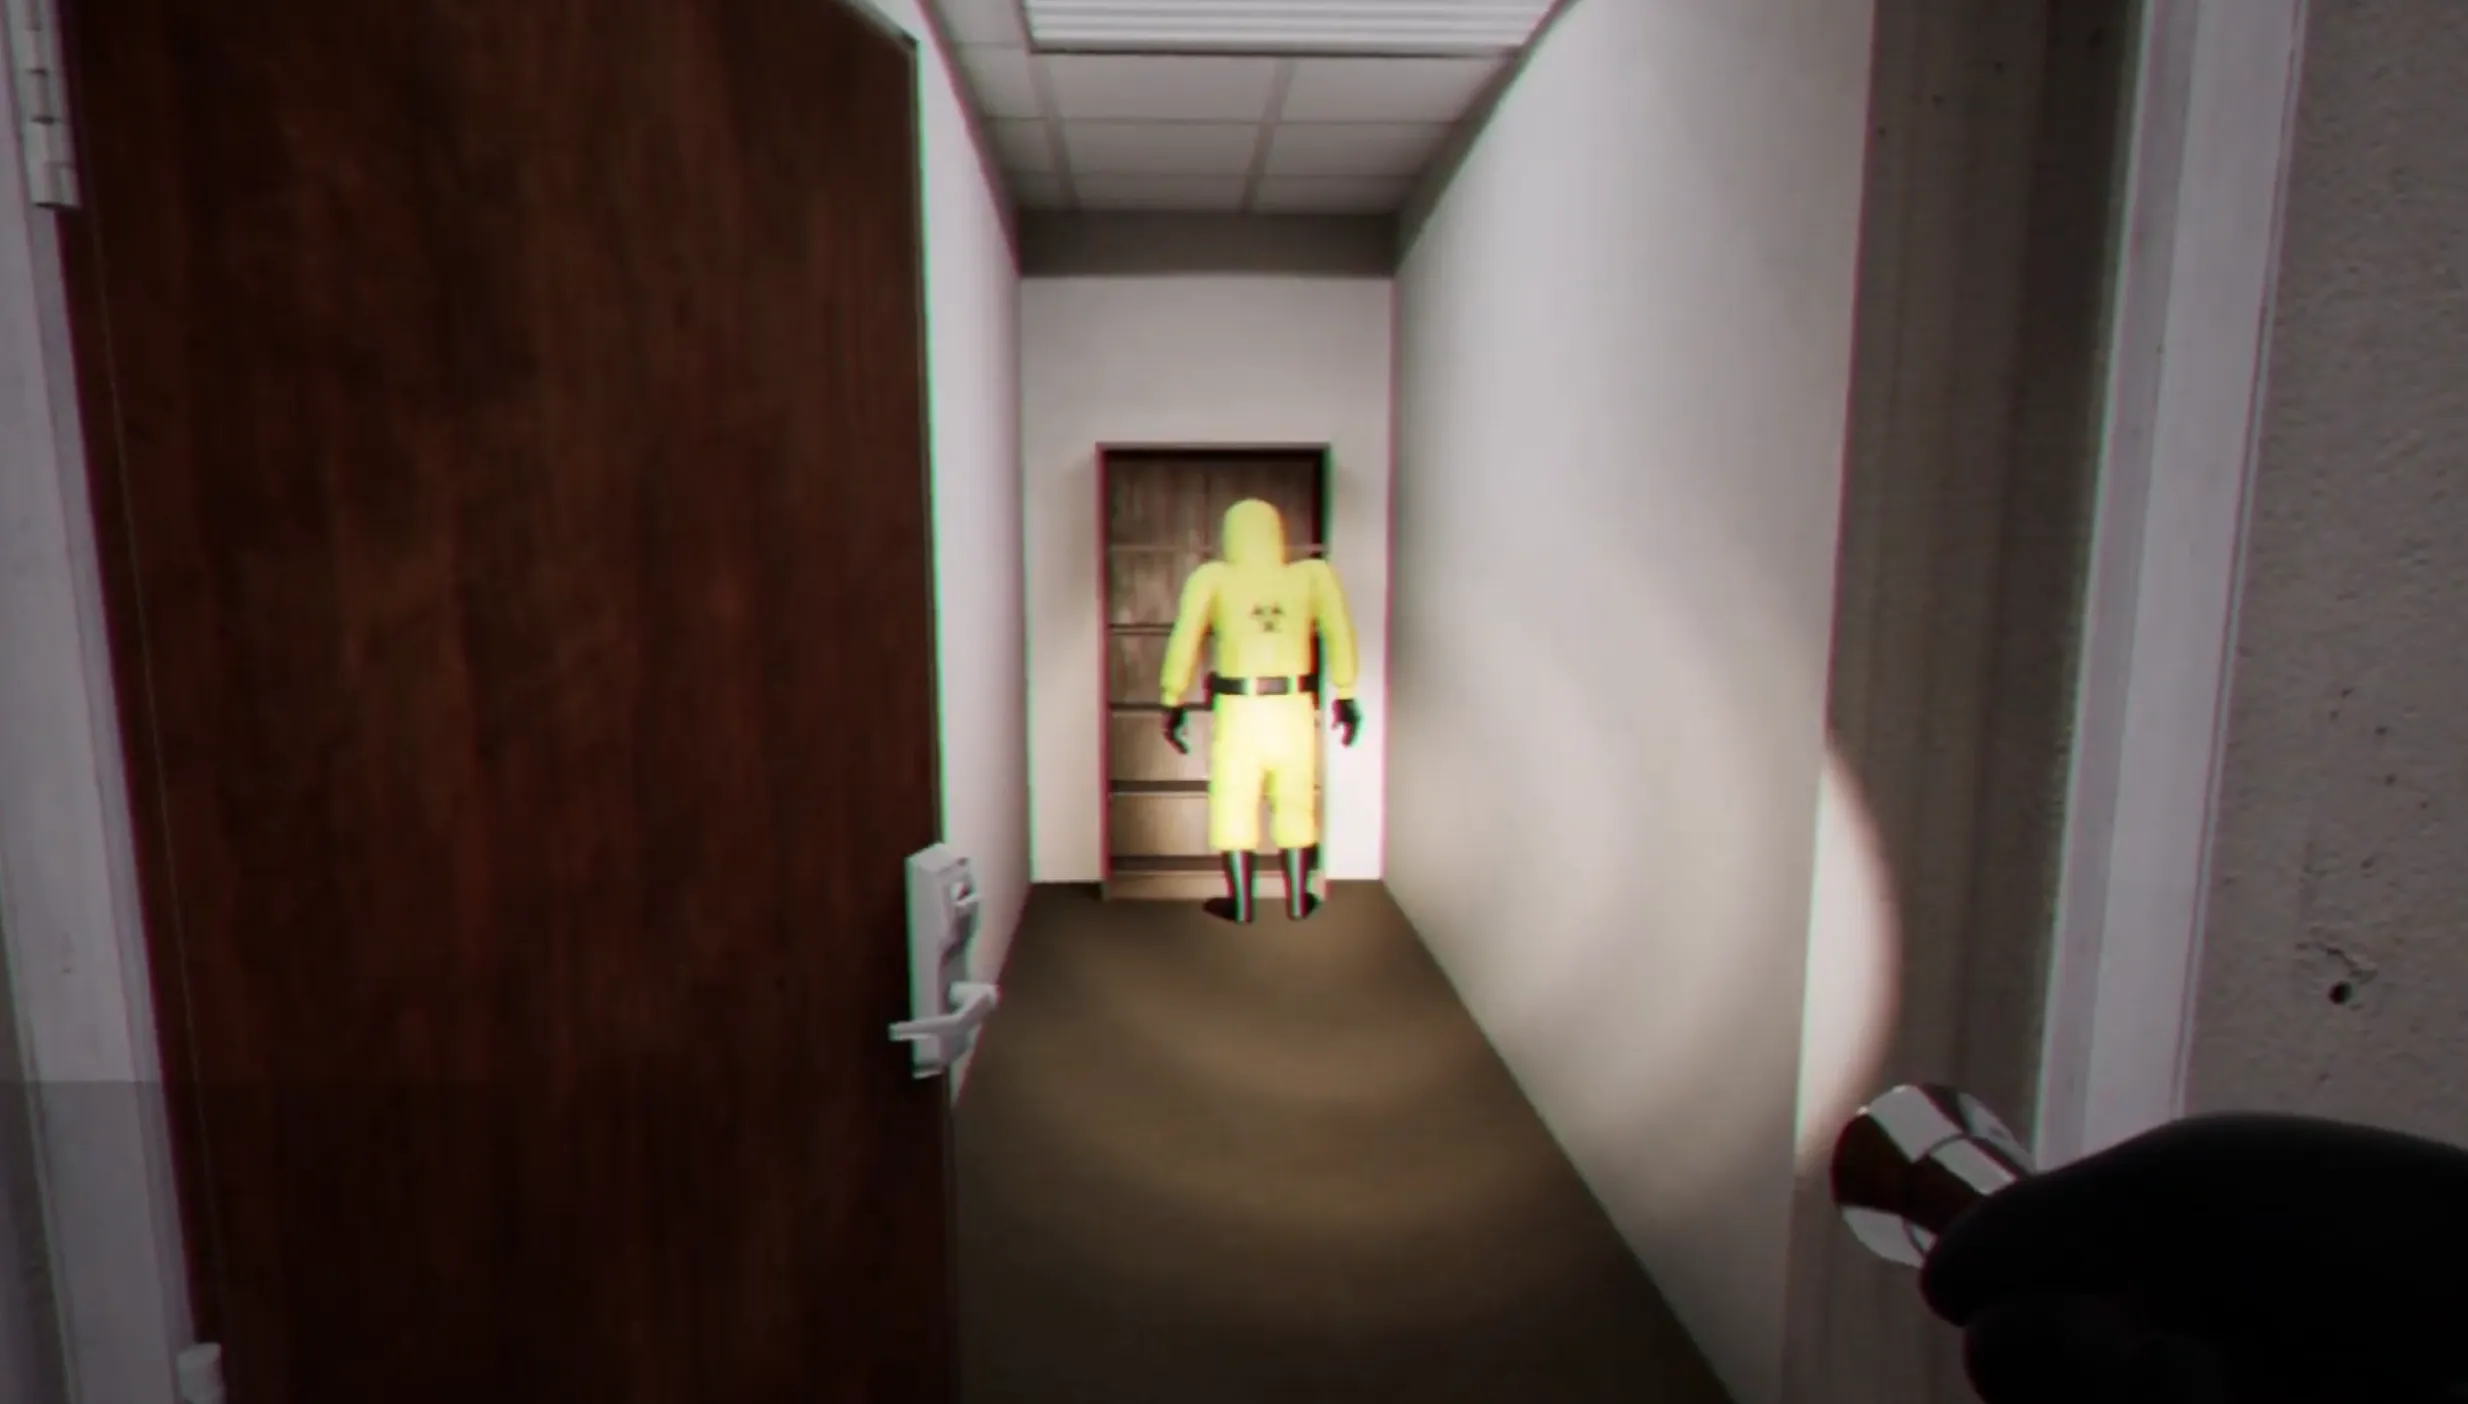
3. Entity Alert: The Shock Monster (a.k.a. Clump)
- Appearance: A twisted humanoid mass crackling with electricity.
- Behavior: Fast, aggressive, and instantly lethal on contact. Its presence is signaled by a sharp “zzzzt” electrical buzz.
- Strategy:
- Stay still or crouch when it’s near. Running attracts it.
- Avoid flooded areas; water amplifies its electrical range.
- Use Almond Water if your sanity drops too low to avoid visual distortion.
Part II: Generator Repair and Fuse Puzzle Walkthrough
Level 3 revolves around a multi-step power restoration puzzle that requires coordination, attention to voltage details, and good timing.
1. Stage One: Locating the Generator and Fuses
- Find the Control Room: Identify a room filled with switches and blinking lights — that’s your main hub.
- Locate the Generator: Typically nearby, enclosed in a smaller side room.
- Collect Fuses: Inside the control room, look for a metal cabinet or toolbox containing several numbered fuses.
2. Stage Two: Installing the Fuses
- Find Fuse Boxes: There are usually four across the map, each labeled with a voltage requirement.
- Solve the Voltage Puzzle: Match the correct fuse (based on voltage value) to each box.
- Incorrect placement can cause a short circuit, plunging the area into deeper darkness.
- Team Coordination: One player installs, another holds the flashlight, and one keeps watch for the Shock Monster.
Pro Tip: If you trigger a power surge, backtrack to the generator room and recheck all fuse combinations before proceeding.
3. Stage Three: Activating the Generator
Once all fuses are correctly installed:
- Return to the Generator Room.
- Pull the Lever to start the generator. Be warned — this action often triggers the final Shock Monster chase. Prepare escape routes in advance and stay calm. The sudden power surge lights up the facility briefly — your cue to run to the newly opened door leading to Level 4.
Part III: Advanced Survival and Navigation Techniques
1. Combatting the Shock Monster
- Don’t sprint: Sprinting emits heavy noise that attracts it instantly.
- Avoid standing water: Electricity spreads through puddles.
- Diversion tactic: One teammate can briefly move noisily to lure it away from the generator area.
2. Navigating the Dark
- Wall-Following Rule: Keep your hand (or crosshair) on one wall to avoid looping in circles.
- Sound Cues: High-voltage buzzing often means puzzle locations, while lower static or crackles signal nearby entities.
If you’ve mastered Level 3, consider reading the Level 2 Pipe Dreams Guide to understand how darkness mechanics evolve across levels.
Conclusion
Level 3’s Electrical Station challenges both your nerves and teamwork. The key to survival is:
- Keeping your flashlight charged,
- Managing sanity above 50%,
- Installing the correct fuses, and
- Staying calm when the Shock Monster closes in.
Once the generator hums to life, don’t linger — make your way to the exit and brace for what awaits in Level 4.