Welcome, new wanderer. Escape the Backrooms is a co-op horror exploration game where players must navigate eerie, endless corridors while avoiding deadly entities. Your ultimate goal: stay sane, survive, and escape the maze-like nightmare.
In this world, knowledge means survival. This beginner’s guide will help you understand the basics—from managing sanity to escaping the first few levels safely. For an overview of every area, you can also check out the detailed Escape the Backrooms All Levels Guide.
Part 1: Core Survival Mechanics and HUD Breakdown
Before you can escape, it’s vital to understand your HUD and the key stats that determine whether you live or die.
1.1 Key Stats and Interface
| Stat | Description | Tips |
|---|---|---|
| Stamina | Controls how long you can sprint. Running depletes it quickly. | Use Energy Bars to recover faster and sprint longer when being chased. |
| Sanity | The most important survival factor. Impacts vision, hearing, and entity detection. | Avoid darkness, stick with teammates, and use Almond Water to restore sanity. |
| Health | Reduces when attacked by entities or environmental hazards. | Almond Water offers slight healing but is not a full recovery item. |
| Inventory | Holds tools like flashlights, keys, and Almond Water. | Learn hotkeys for quick access during emergencies. |
1.2 Co-op Survival Basics
Working as a team is key to survival, but poor communication can be fatal.
- Proximity Chat: Helps coordinate puzzles but also alerts entities to your location.
- Resource Sharing: Assign teammates to carry Almond Water, keys, or puzzle tools.
- Team Roles: Have one scout explore ahead, one support carry resources, and one defender close doors behind.
If you notice lag or frame drops during intense co-op sessions, the Escape the Backrooms Performance Fixes guide can help you stabilize your gameplay for smoother survival runs.
Part 2: Entity Handling for Beginners
Each entity in the Backrooms behaves differently. Learn their behavior, exploit their weaknesses, and you’ll live longer.
2.1 The Howler (Level 0)
- Appearance: Tall, black humanoid silhouette, matching player speed.
- Spawn Conditions: Appears randomly after several minutes in Level 0.
- Strategy: Run when you hear footsteps, use corners to break line of sight, and avoid long straight paths.
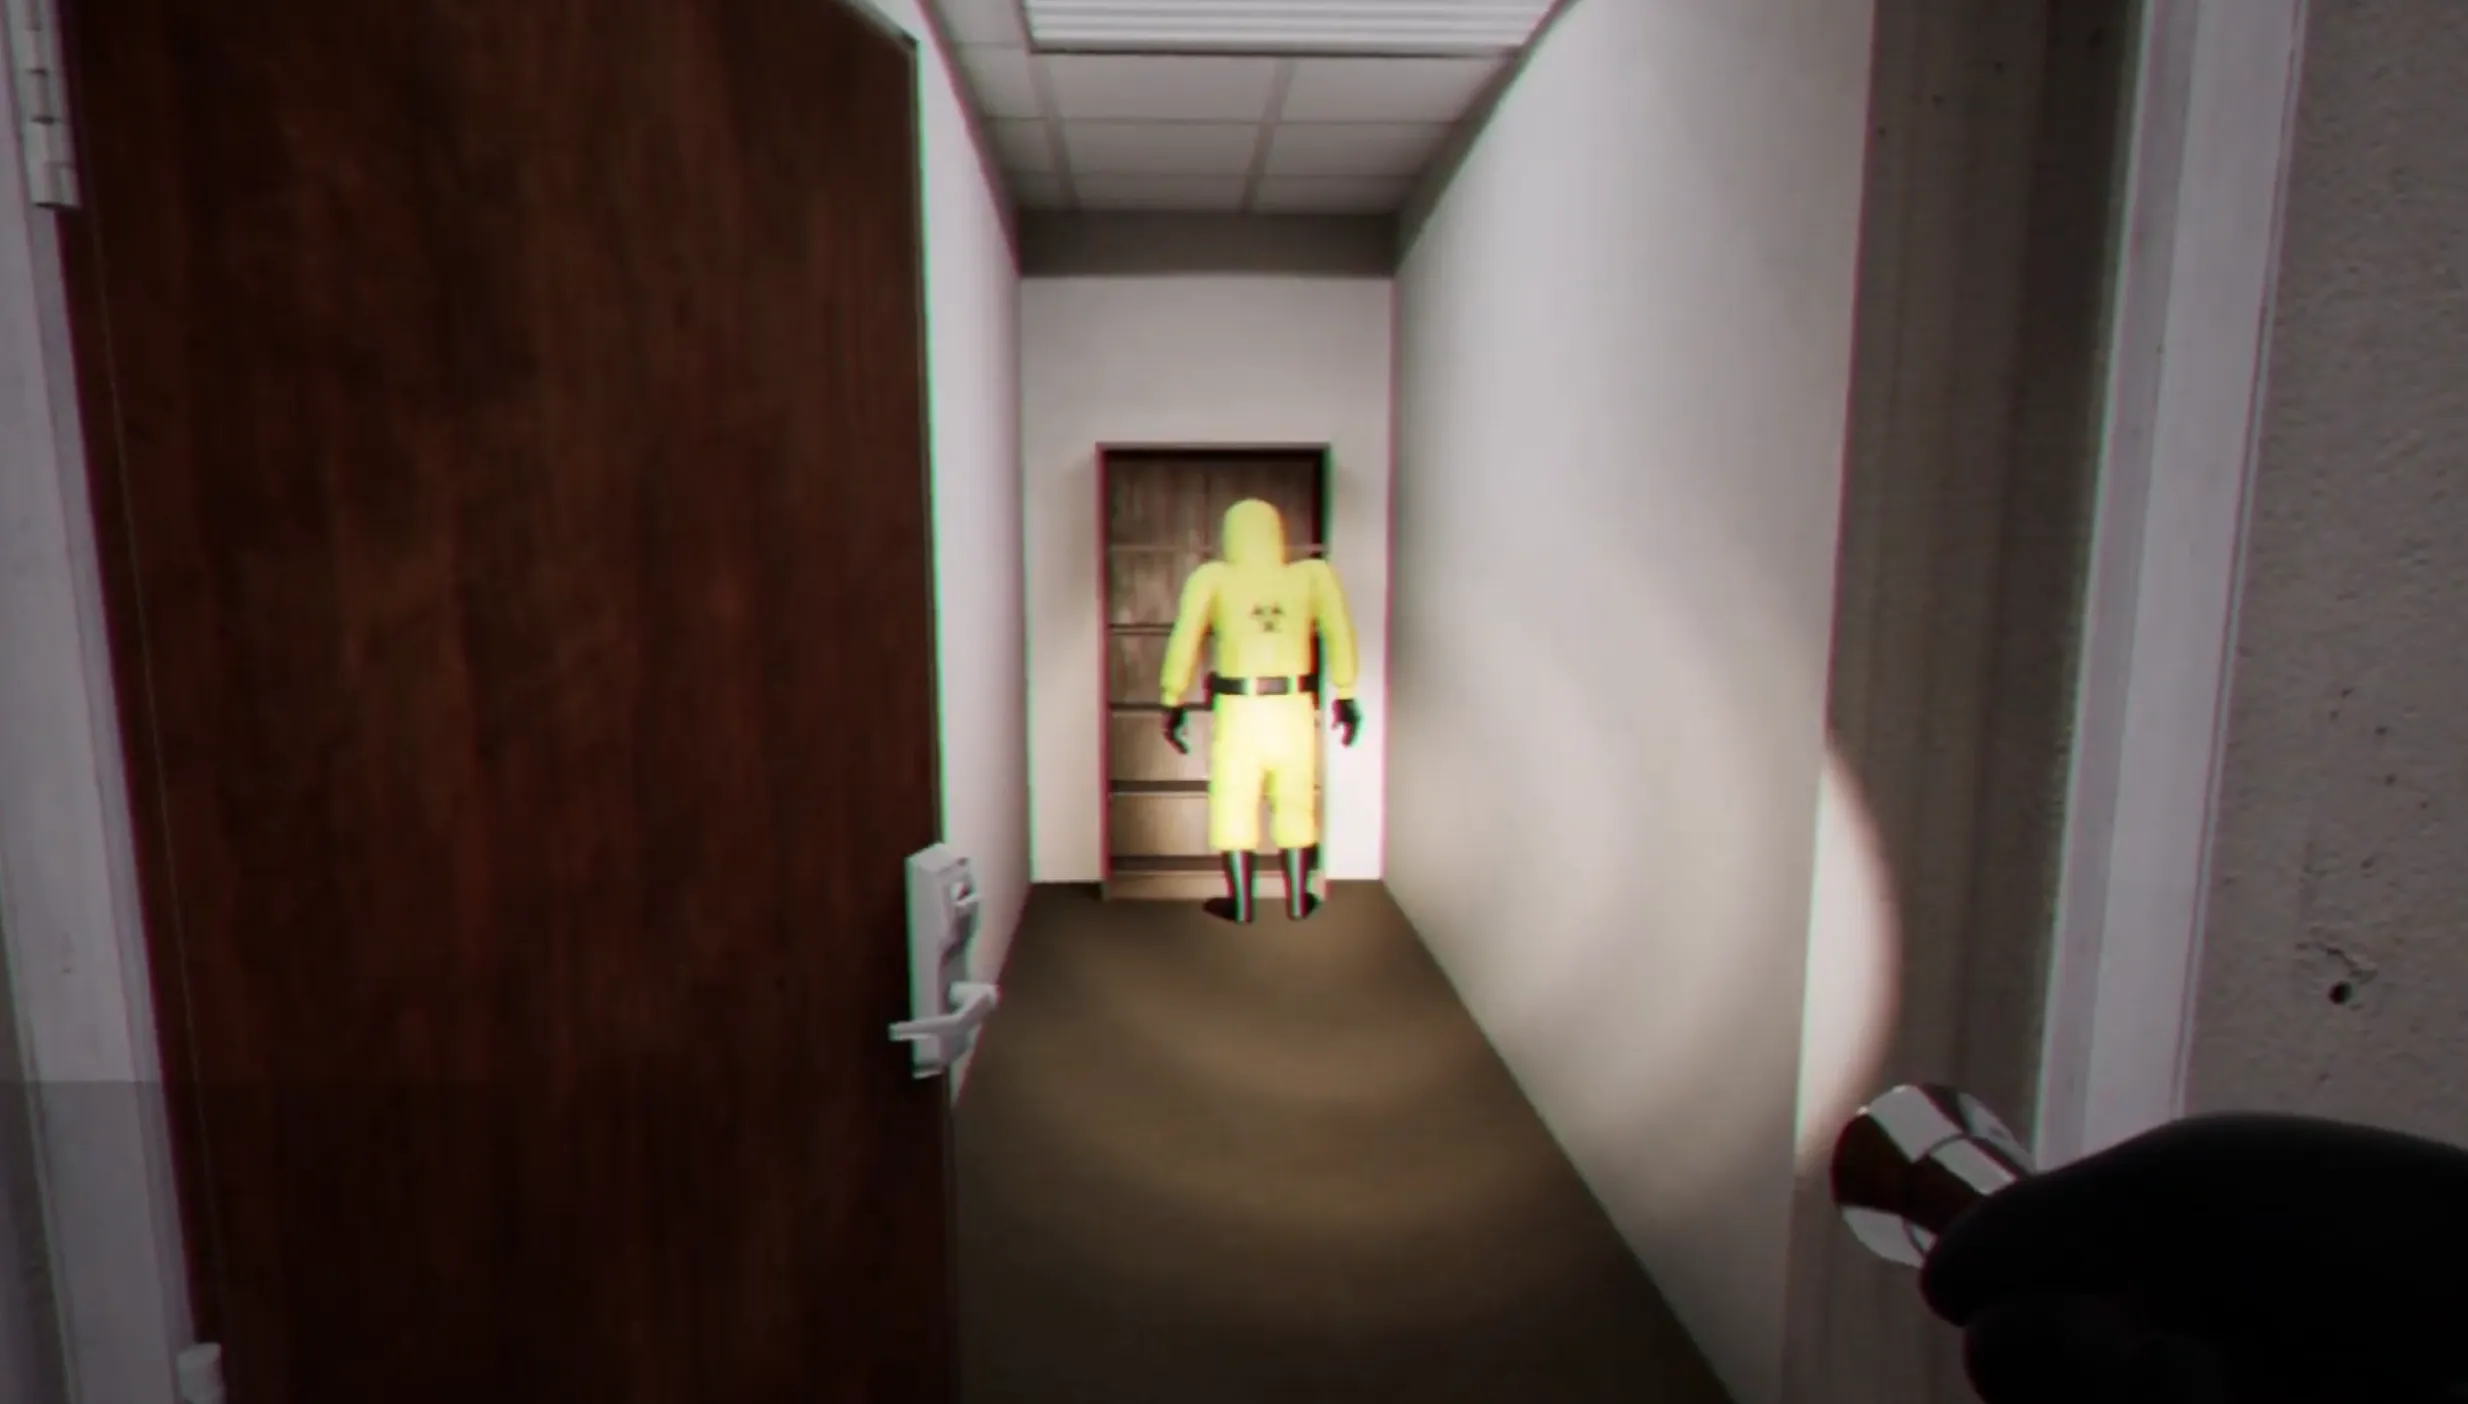
2.2 The Skin-Stealer (Level 1)
- Appearance: Looks exactly like a teammate but doesn’t speak or act naturally.
- Weakness: Cannot open doors.
- Strategy:
- Confirm teammates through voice chat.
- Shut doors behind you when pursued—it buys precious time.
2.3 The Smiler (Levels 1 & 3)
- Appearance: Glowing eyes and sharp teeth in the dark.
- Weakness: Light exposure.
- Strategy:
- Keep your flashlight on in dark corridors.
- If lights flicker, illuminate it and move away—never approach.
Part 3: Step-by-Step Escape for Level 0 & Level 1
3.1 Level 0 — The Lobby
Goal: Repair the ladder and find the key to escape.
Steps:
- Find 4 wooden planks scattered in corners or behind pipes.
- Repair the ladder and climb to retrieve the key.
- Unlock the wooden door, cross the balance beam, and enter the vent to reach Level 1.
3.2 Level 1 — Habitable Zone
Goal: Locate the elevator card or key to escape.
Tips:
- Stay in lit rooms for safety.
- Watch for environmental puzzles involving car colors or room counts.
- During the final chase, don’t stop until you reach the elevator to Level 2.
If you’re curious about the mysterious endings awaiting beyond these levels, take a look at the Escape the Backrooms 1.0 Endings Guide to uncover every possible escape outcome.
Conclusion: Survive, Think, Escape
To survive the Backrooms, you must stay calm, manage sanity, and trust your teammates. Follow these rules, and you’ll live longer than most.
Quick Tips:
- Use Q and E to peek safely around corners.
- Listen more, talk less—sound can betray your location.
- Always keep your flashlight ready, and never wander alone.
Once you’ve mastered the basics, it’s time to challenge Level 2 (Pipe Dreams) and the chaotic Level Fun — where survival becomes truly unpredictable.